How to Deploy Private GitHub Repositories to cPanel With GitHub Actions [Continuous Deployment (CD)]

This article shows you how to automatically deploy a private GitHub repository to cPanel on every push to the master branch.
If you’re working on a project you intend to host from a private GitHub environment, you’ll probably be working with cPanel so your codes can go live on deployment.
The workflow to achieve this is as follows;
-
Make some changes to the document on your local machine.
-
Push the changes to a separate git branch.
-
Once you are done with the testing and everything seems perfect, you would want to merge to a master or main branch (With the assumption that the master branch is your production branch, anything you push to the master branch is ready to go live).
-
You push to the remote master branch and it automatically deploys to your cPanel (Live environment for your users to see).
-
Repeat steps 1–4
To achieve this, you would need;
-
An FTP/SFTP account, created from your cPanel account.
-
A project under Git version control and hosted on GitHub.
-
A GitHub Action Workflow Configuration.
Let’s get started
There are many ways to deploy a private GitHub repo to cPanel, but this is an easy and popular way to do it.
THE STEPS
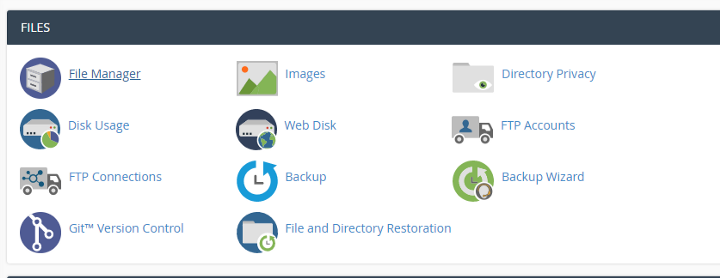
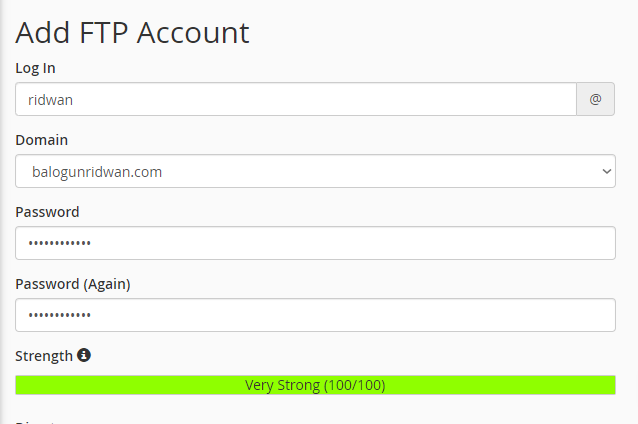
1. Log in to your cPanel account and create an FTP account
2. Keep your FTP account username and password as you will need them later.
3. Next you need to know your server IP address (or Hostname but the IP address works fine for me), You can reach out to your host service provider if you do not know your IP address.
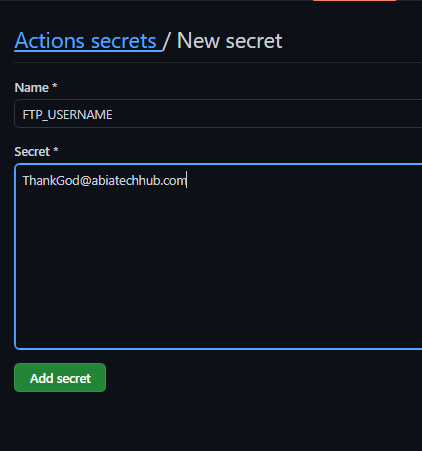
4. Go to your private repository on GitHub, click on SETTINGS, then click on SECRETS to add your FTP account username, password, and server IP
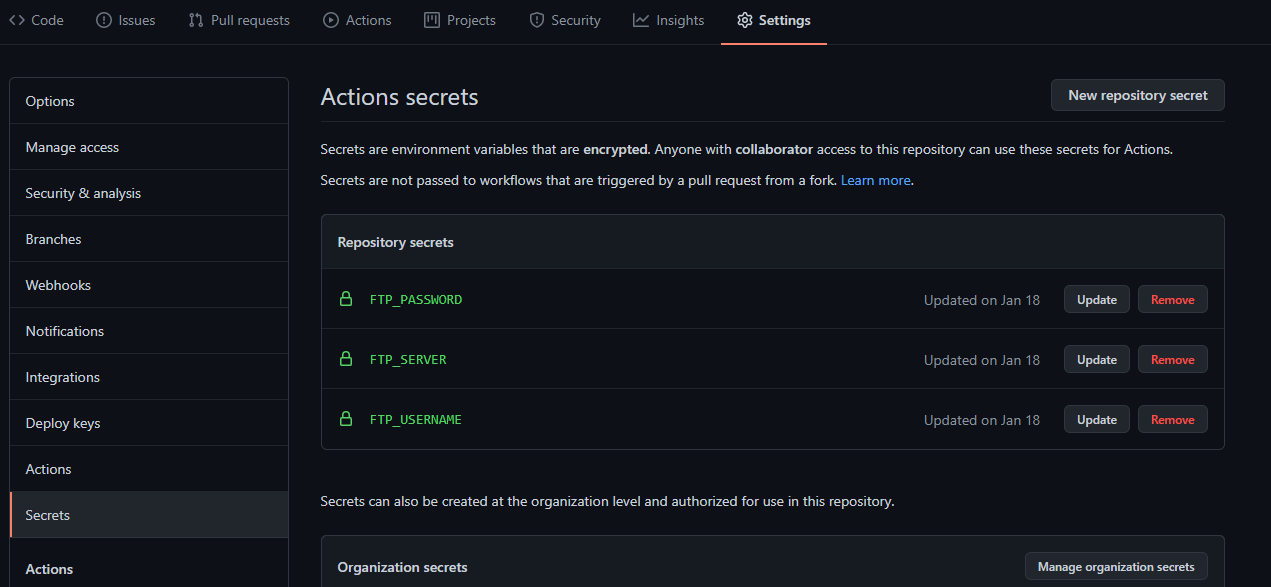
5. On the SECRETS tab, click the NEW REPOSITORY SECRET BUTTON on the right-hand side, to add a new secret.

Create new Github secret.
6. Add the details as follows (Using your own details)
The names should be FTP_SERVER, FTP_USERNAME, FTP_PASSWORD, and the values should be your own secret details respectively click the ADD SECRET BUTTON
Here is an example;
7. The next step is to create a GitHub action workflow; The GitHub actions take place on the GitHub server.
In your GitHub repo, click on ACTIONS
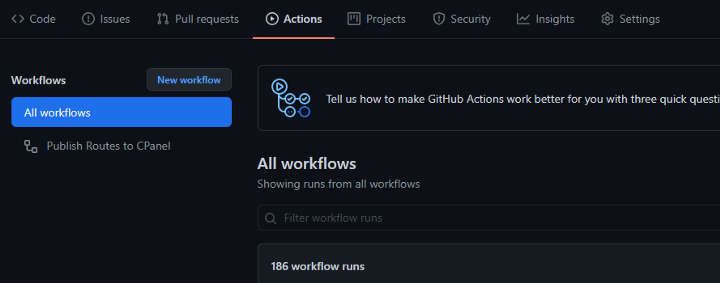
GitHub Actions
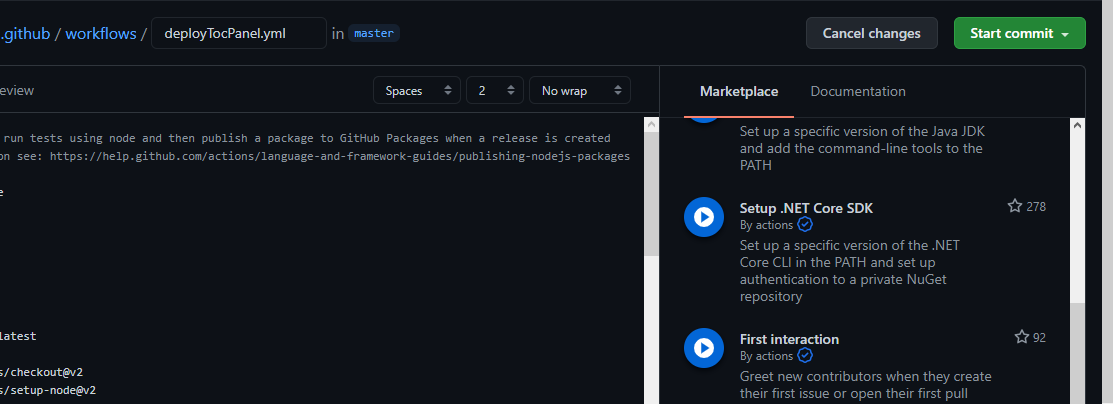
8. Click NEW WORKFLOW, You can choose a workflow template but for the sake of this tutorial, we will be creating our own workflow.
Click on any template (I selected the first template), then edit the configuration (“yaml” configuration file)
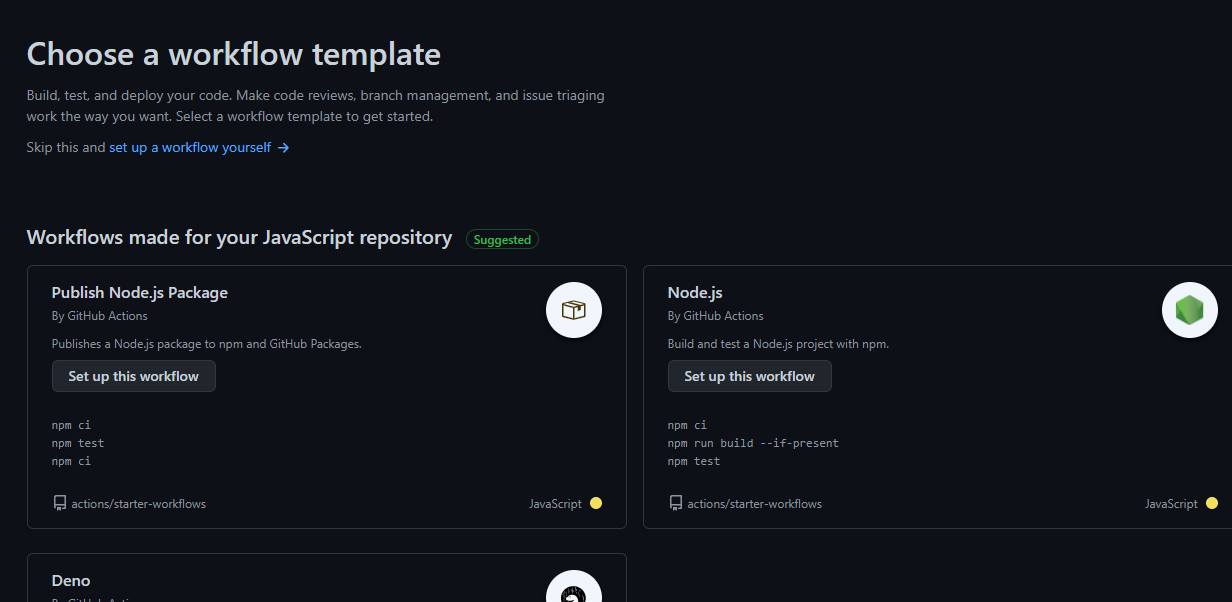
Choose a workflow action template
9. Change the file name to your own choice. (I changed mine to deployTocPanel.yml), make sure it has the .yml file extension
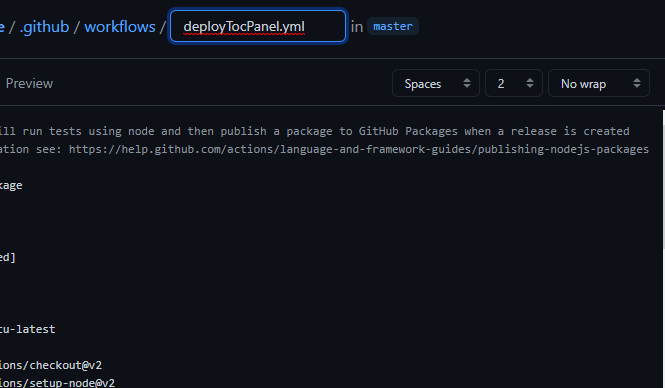
create a deployment file on GitHub
Place the below configuration code in the file

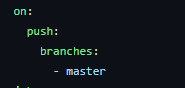
Make sure you change the branch where you want your codes to be deployed from, in my case I am deploying from master branch
10. Once you are done, click on START COMMIT button on the right-hand side
Save GitHub Workflow
This will automatically create a /.github/workflows/directory and places the configuration file in it.
11. Anytime you push your codes to the master branch, it automatically deploys to cPanel via your FTP account.
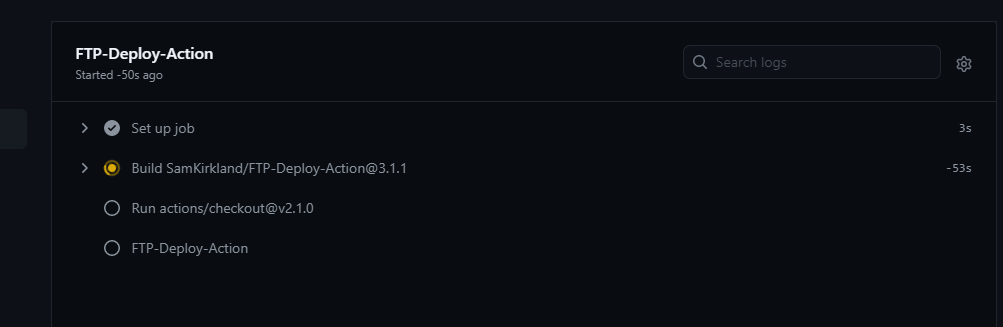
12. Anytime you push to your master branch, you will see something similar to what’s below
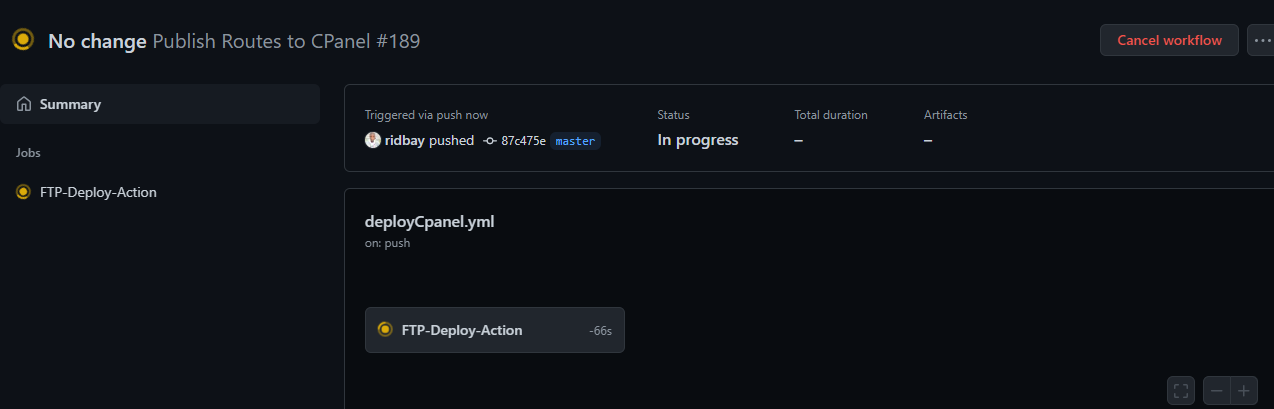
GitHub action in progress
The Amber color means that deployment is in progress.
GitHub action in progress
Once the deployment is successful, the color changes to GREEN, This means your code has been deployed successfully to cPanel.
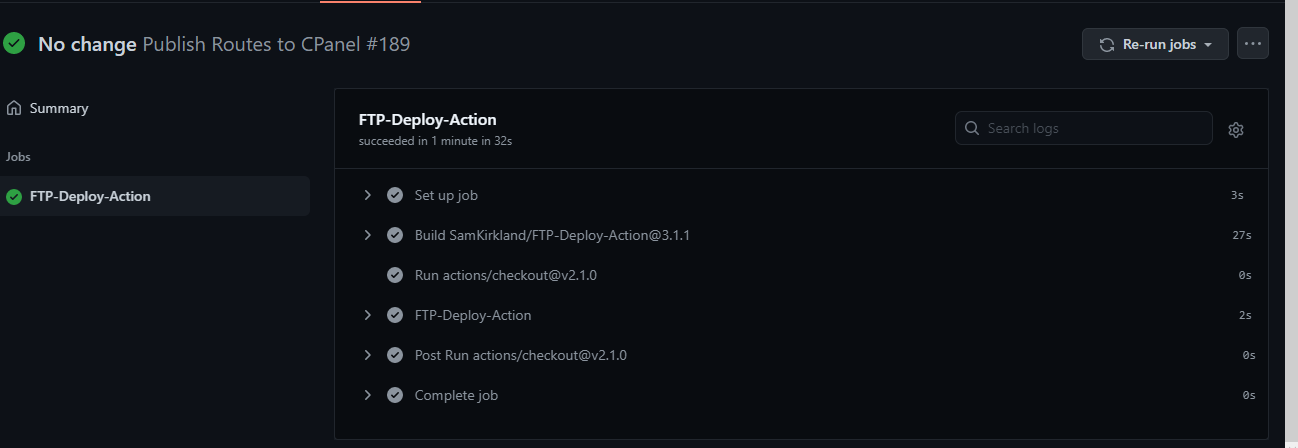
GitHub action successfully deployed
If it fails, it will change to RED.
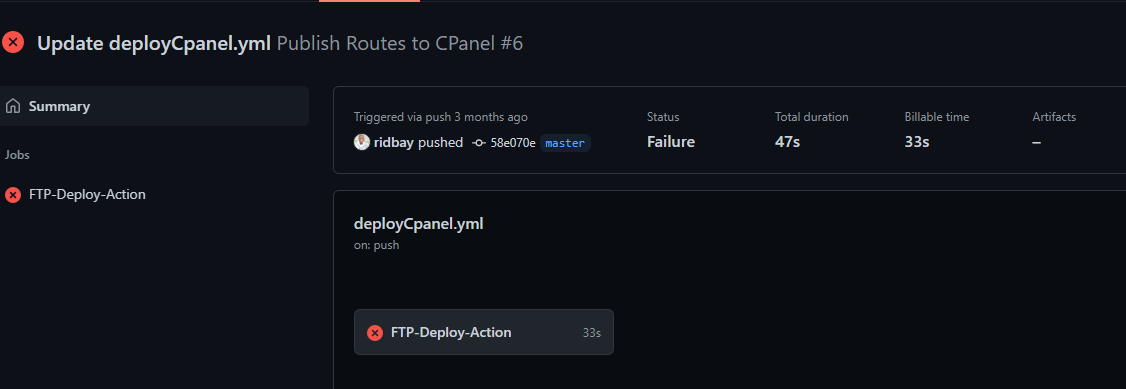
GitHub action failed
I hope this article helps you to set up a continuous delivery for your project.
You can leave a comment below to let me know how helpful it is.